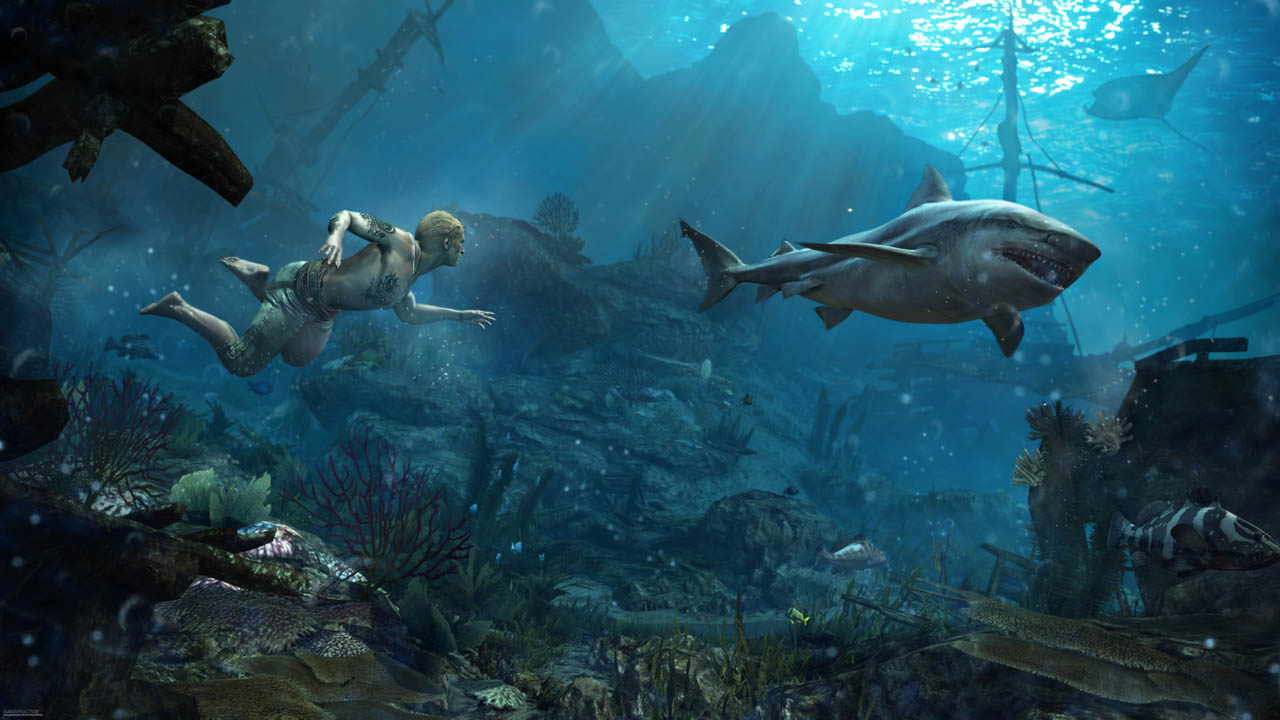
As many of you know by now, the diving missions in AC4: Black Flag are far from simple. Sure they look straight forward, but with lurking sharks, limited air supplies and no way to defend yourself these are some of the most daunting missions we’ve seen in a long time.
Forget the strategy guides and how-to videos. Excessive sneaking and waiting for windows of opportunity will just make you run out of air. Ergo, I offer you all some general tips and tricks that can be used in any diving mission. By mastering these, you’ll guarantee that your deep-sea trips are more than just “being pummeled by sharks”
Things To Do Beforehand:
- Get all treasure maps: Several deep-sea dives lead to smuggler caves that have hidden treasures. By getting all treasure maps before hand, you ensure that you wont have to make a second trek through these dangerous terrains. The corresponding treasure maps can be claimed from the ‘Great Reputation II ‘ Naval Contract, Corozal, and Santanillas.
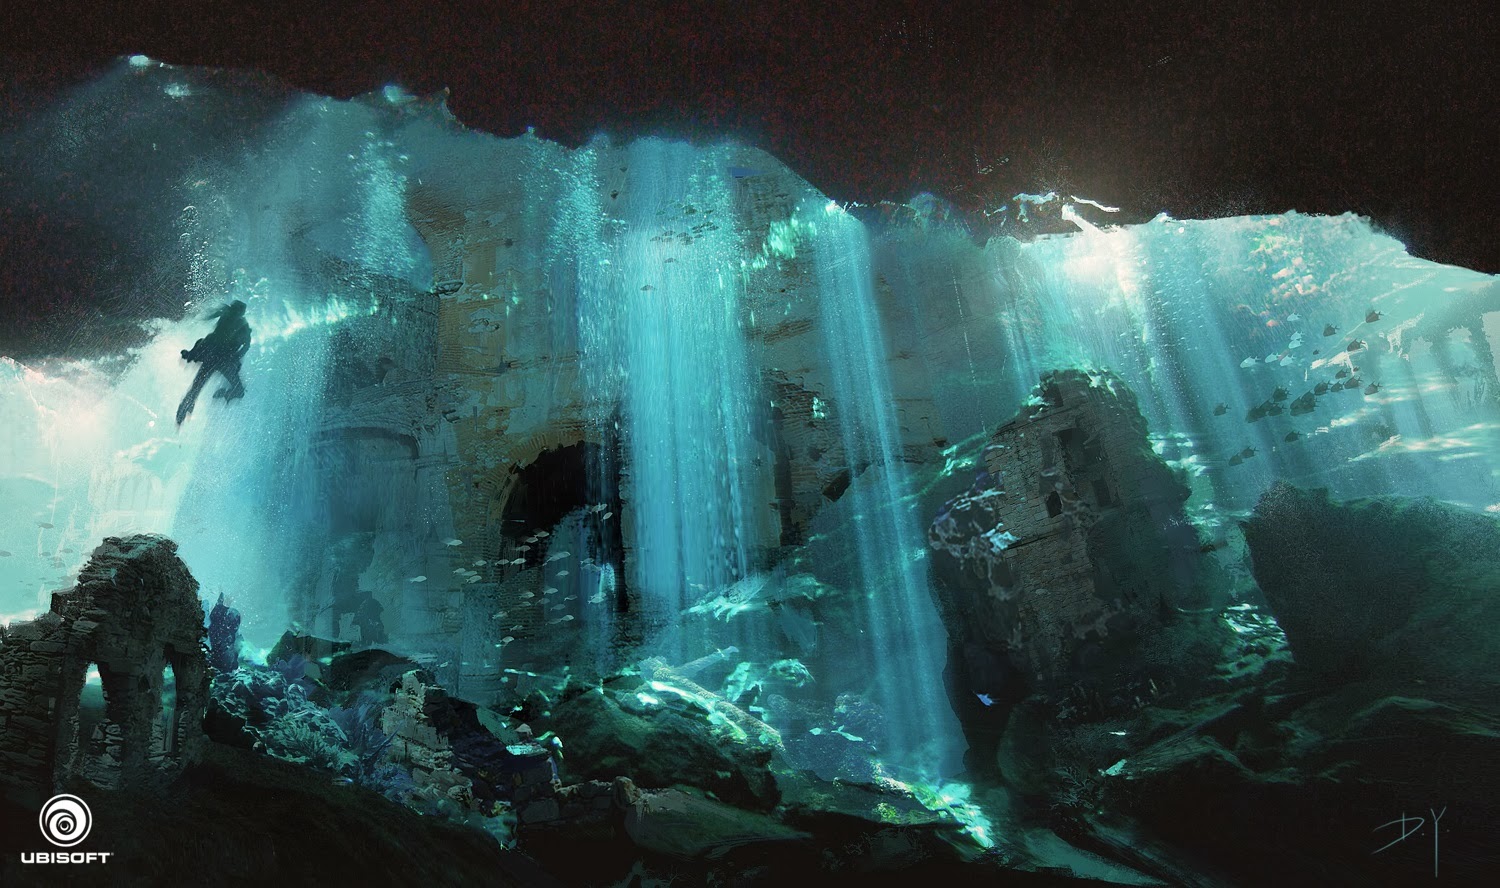
With so many secret locations, make sure you’ve located all hidden maps and contracts to make the most of your quest.
- Get all assassin contracts: Much like the hidden treasures, these smuggler caves usually have an assassination target in them. So be sure to collect the appropriate Assassination Contracts from Grand Cayman and Corozal before you start your dive.
Ok, you’ve gathered all you need to start these missions the right way. Keep in mind that this is an entirely new realm so there are a few things to get used to:
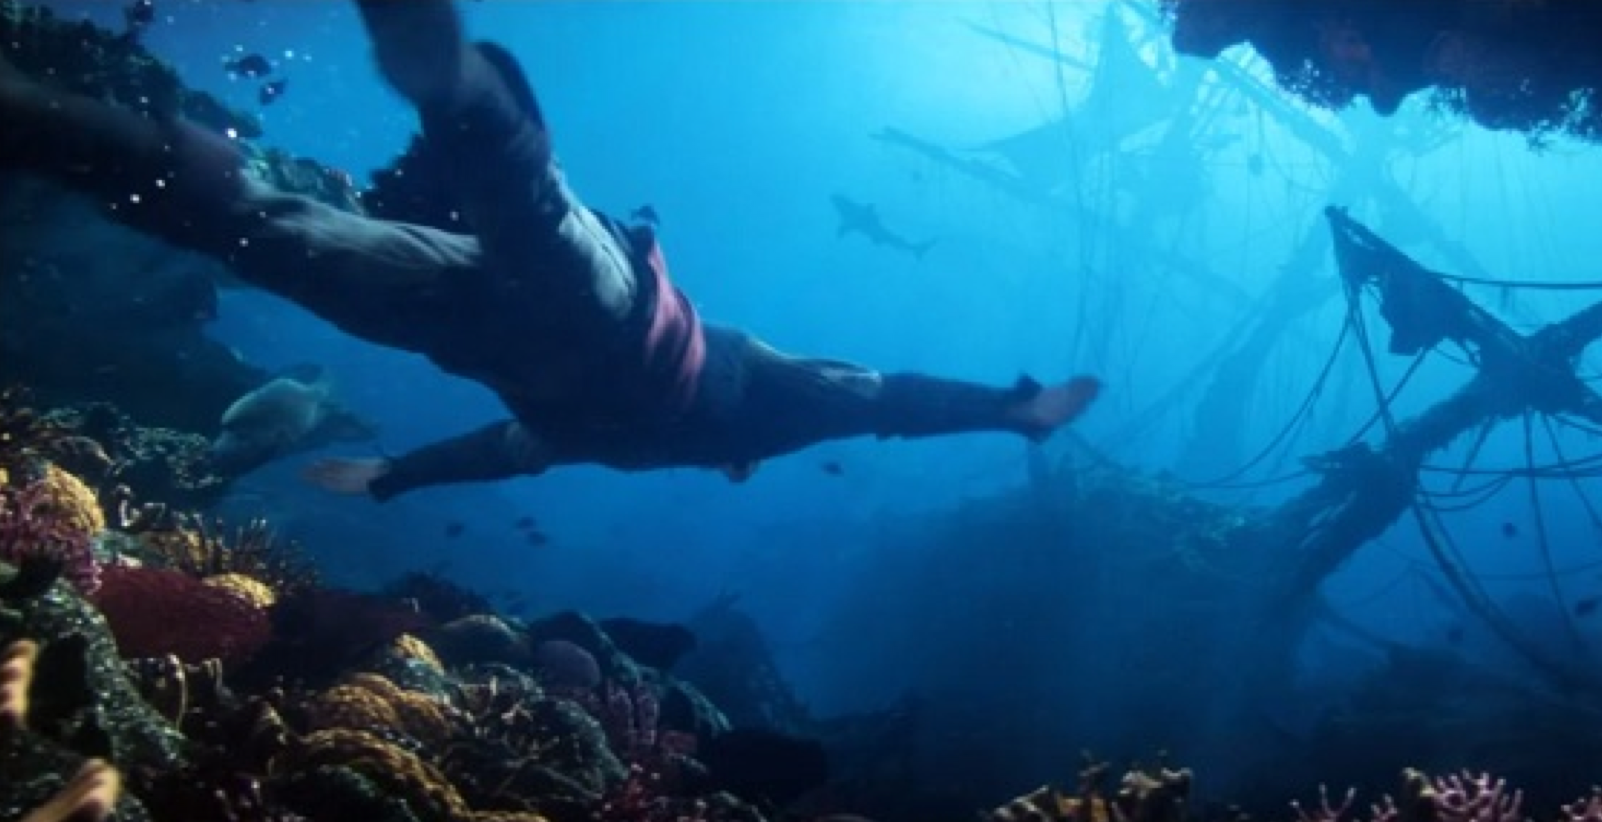
- Complete Freedom of Movement:
Unlike the rest of Assassins Creed, this is not simply a linear plane of movement. This means that there’s a lot more to think about than just moving sideways, forward and back. You don’t have to wait for a sunken ship to climb, you can just do it as you wish.
Though disorienting at first, the complete range of movement allows you unparalleled freedom in an already open-world game.
As such using map markers is a must. Your markers will let you know whether or not the treasure you seek is above or below you. Sometimes animus fragments are way up top in open water, but do not go up there unless the map explicitly shows it in that direction
- Air Supply:
You might think that once your air supply runs out, you’ll drown. In actuality, running out of air causes you to steadily lose health while the screen gets darker. This won’t give you much added time, but it is a start. So use these few remaining second of grace to refill your air supply and fast.
Keeping these ideas in mind, it time for the most important tips that can make or break your game. I found these out by playing through the missions myself and was even able to complete most- if not all – of the missions in just one dive.
Tip #1 – Diving Bell Perks:
The diving bell is more than just your starting point/ way to return to the surface. USE IT! The diving bell is a perpetual air pocket. If you’re running low on air, swim back and take a breath. More importantly, when you first get down there, you don’t have to swim out of the diving bell immediately.
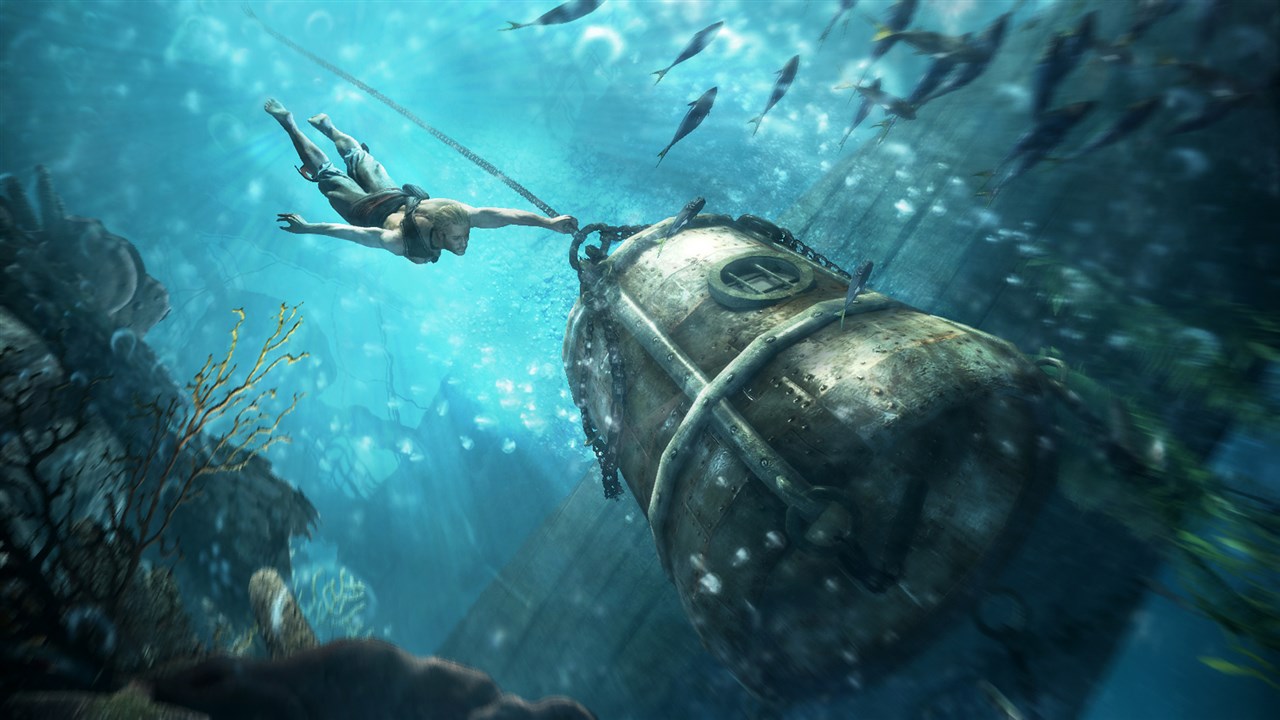
Don’t think of your diving bell as an entrance/exit, but rather as a home base to plan your next move while you recover.
Stay in there a second and activate eagle sense. Scan your surroundings and see what hazards await you. Swimming sharks, camouflaged eels, and sea urchins are just some of the things a little foresight can help avoid. Also use this time to set map markers so you can see the general area for your first target. Is it buried in seaweed or just over the next ridge?
Are you low on health? Swim back into the diving bell and rest until your health bar is refilled. With so many dangers you will need to heal up before you attempt some heavily guarded chests.
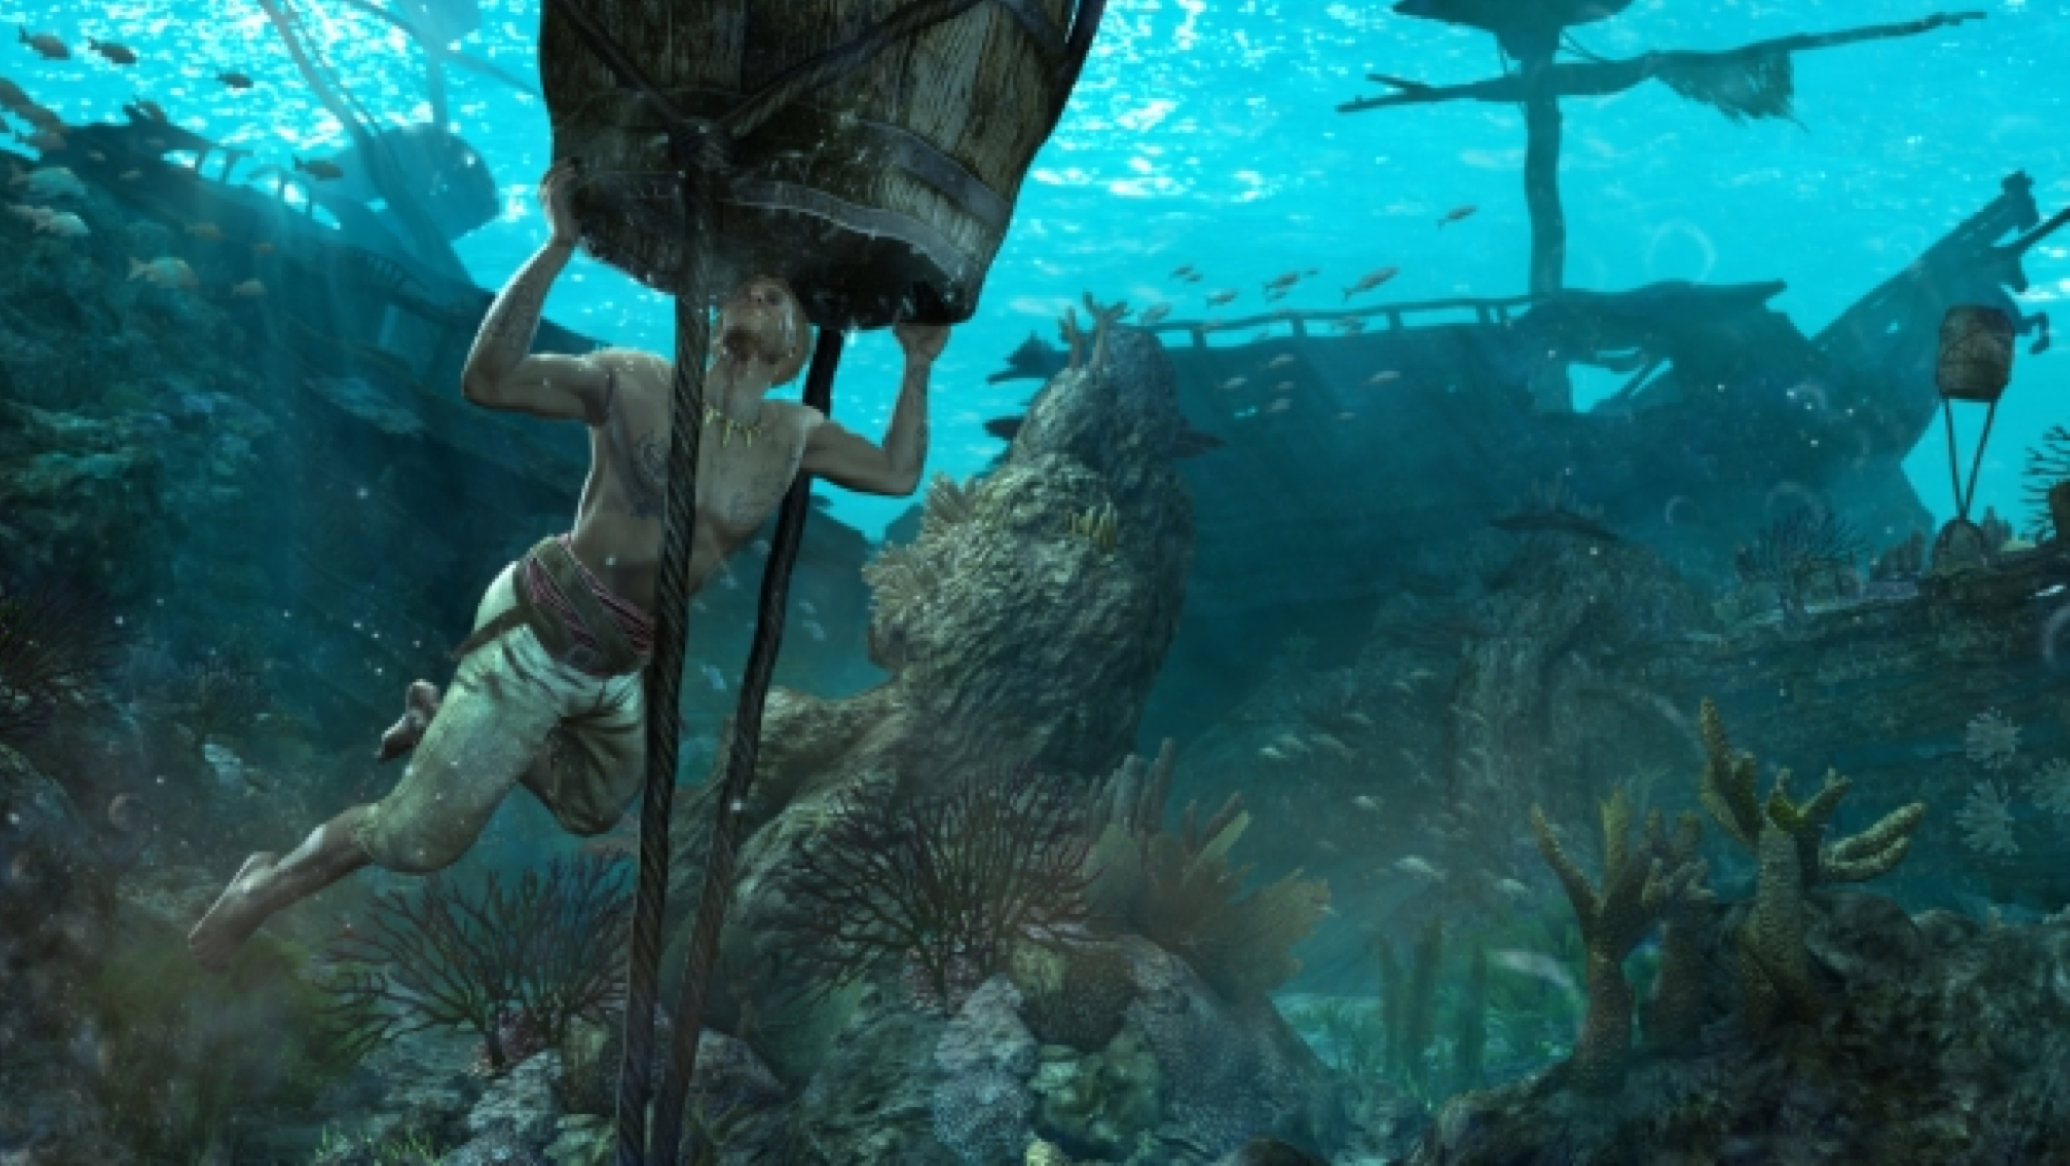
Tip #2 – Use Air Sources To Their Full Potential:
Much like with the diving bell, make sure to use all air sources to their full advantage. Air barrels are good for only one use, so plan wisely. If you have about half your air left and a chest nearby, it might be wiser to quickly claim the chest and then refill.
A well-timed air barrel can not only save your life, but can also dissuade shark attacks.
Another perk of using air barrels is that once you hit the action button, a mini cut-scene will occur as you peek in to take a breather. During this cut-scene no sharks will attack you. So if you’re going for a long swim and a shark is getting dangerously close to you, head straight for that air barrel and hope you make it in time. The sharks detection meter will reset and give you a little more time to swim towards your reward.
Air pockets – as I previously stated – work like the diving bell and never run out. They can be used again and again. So if you find yourself in a cave system, don’t be afraid to take a breather, heal up, and plan your next move. Considering most cave systems are lined with poisonous sea urchins and jellyfish, you’ll need it. On the other hand, unlike the diving bell using Eagle Sense here wont really help you since it wont pick up underwater dangers – since you’re currently above water.
Tip #3 – Underwater Speed Boosts:

Springing off horizontal beams for a quick speed boost can really make the difference when you’re low on air.
If you’re around debris or sunken ships, keep an eye out for long beams, masts, etc. When you are near them, swim forward and Edward will use them to spring off for a quick speed boost that can come in handy when you’re running low on air.
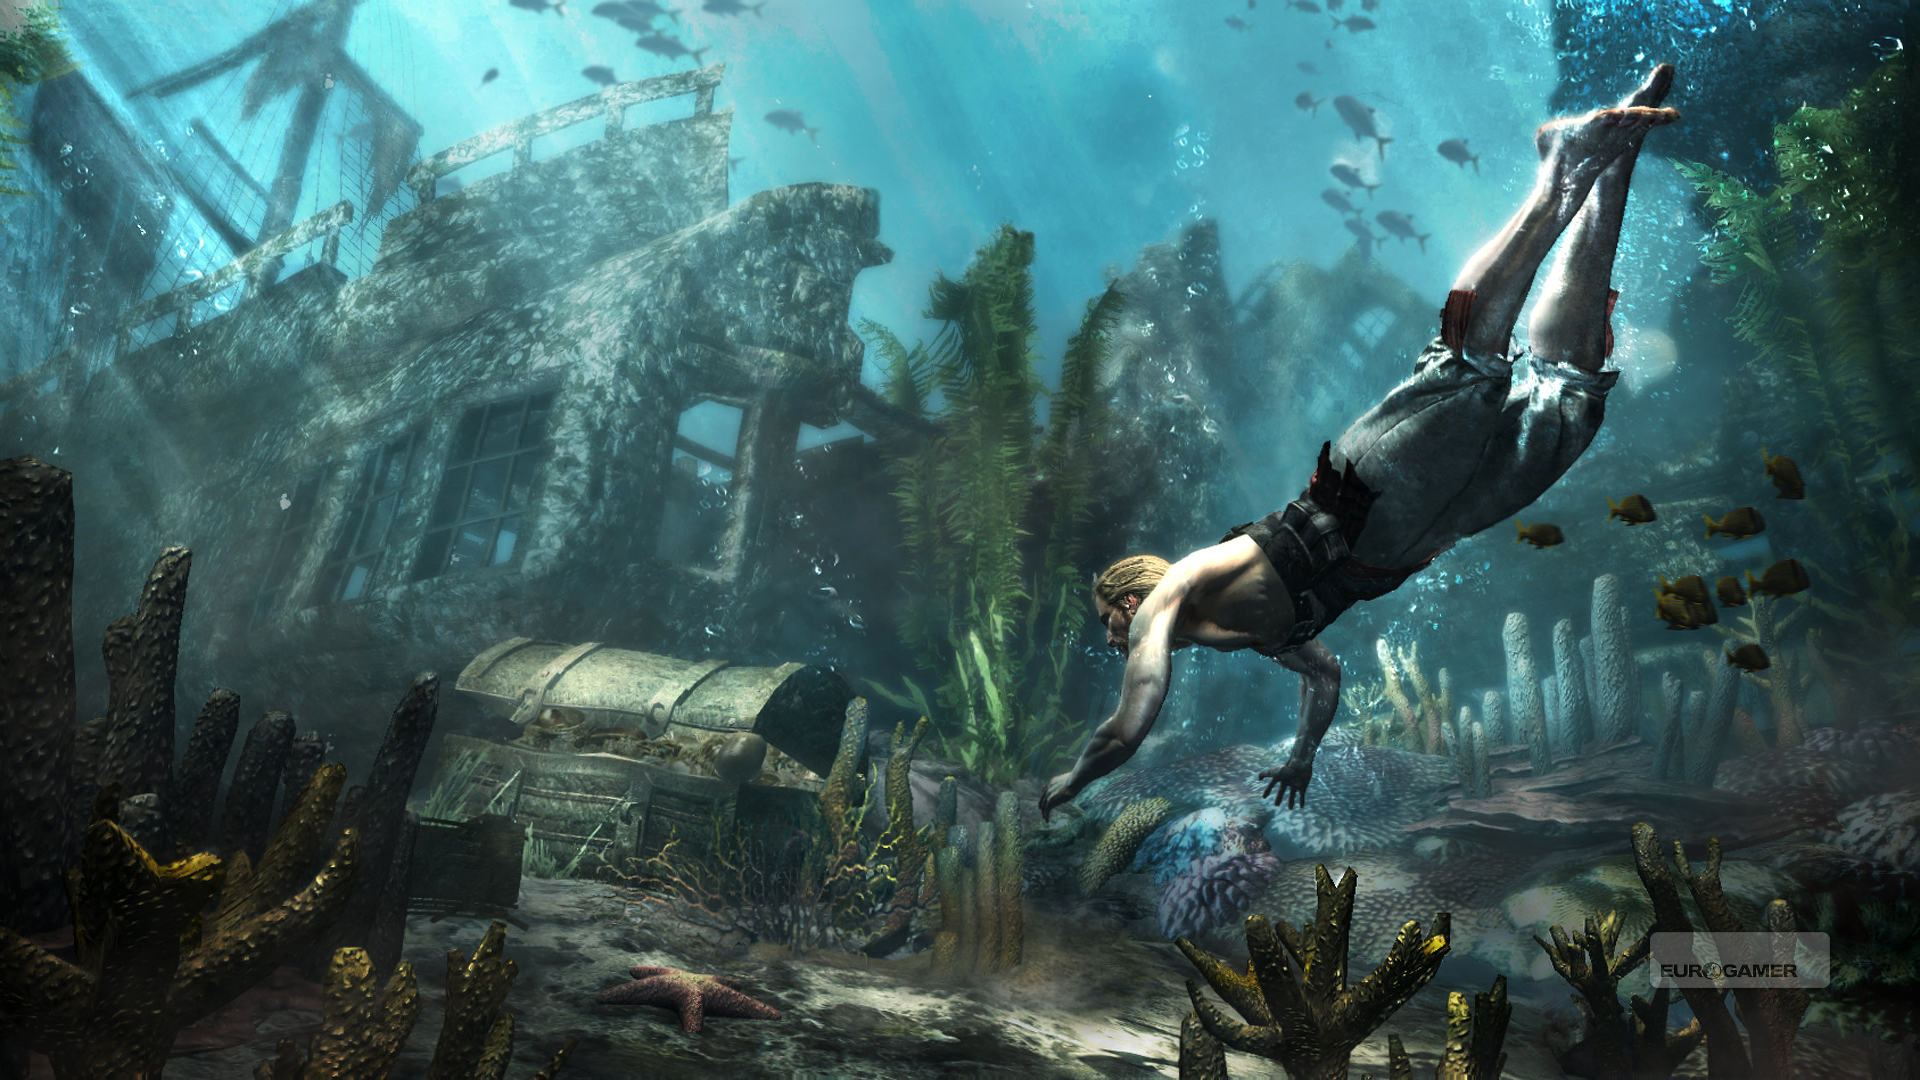
Tip #4 – Navigating Sunken Ships:

Sunken ships can be mazes. Between multiple entryways, blocked paths and dark corridors, it is very easy to get lost and drown inside them. You always want to make sure you have enough air before you go inside since what looks like a straightforward path can lead to a dead end with your treasure only being accessible by a entrance lower down. This is why it is absolutely necessary that you use map markers here.
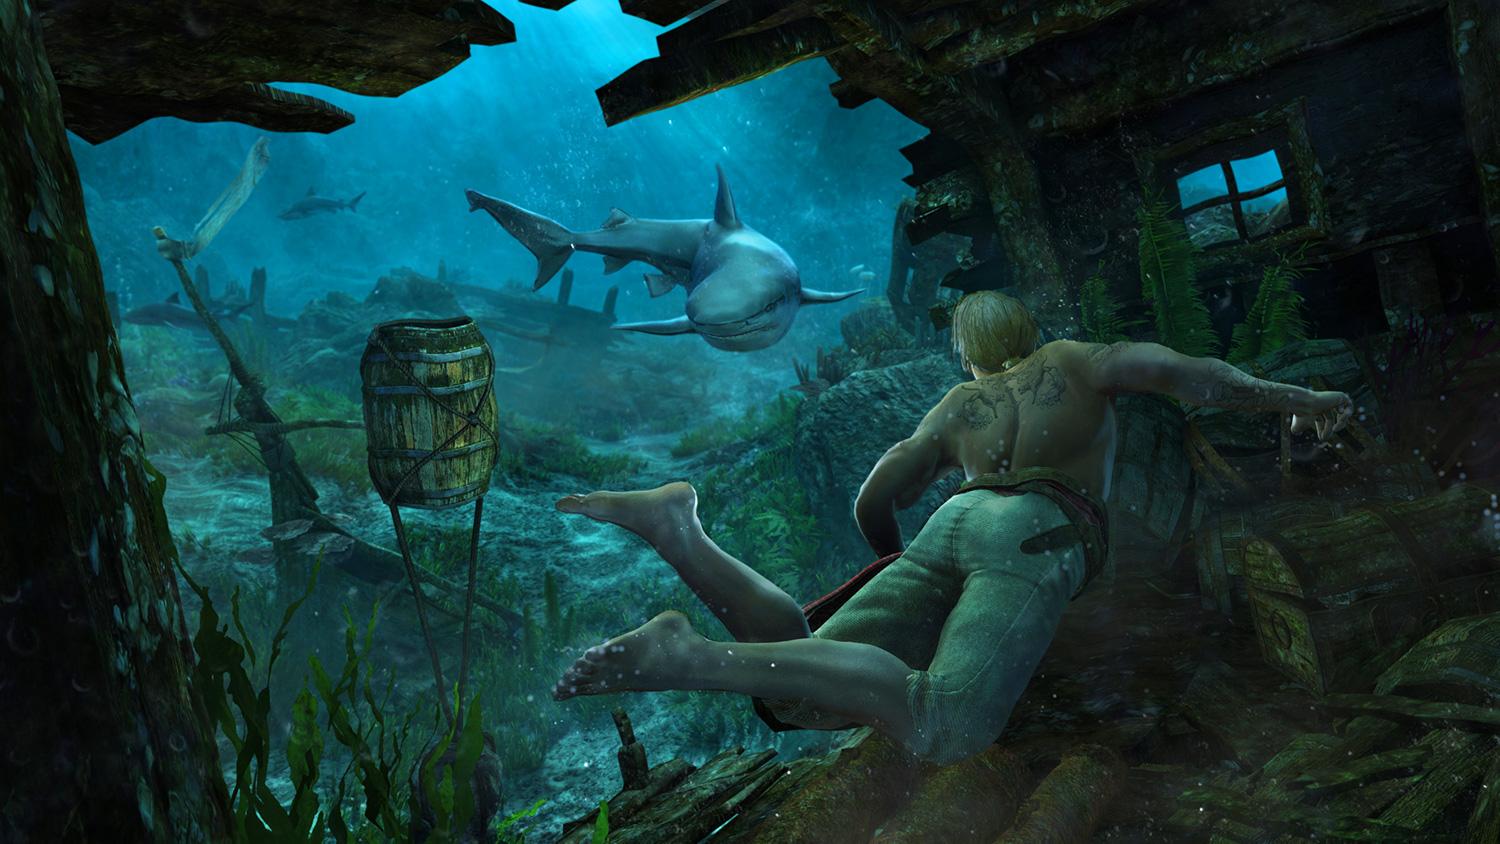
Tip #5 – Be Brave
If you stick to the seaweed and closely watch the swim path of sharks waiting for an opening, you’ll drown. Time is of the essence. Sure, don’t be stupid and swim past a sharks nose, but you have to be brave and just gun it sometimes. If you know where you’re going, it might just be better to swim right towards it rather than sneak around looking for a path.
There you have it – a few quick tips and things to keep in mind. Also, remember there is nothing against dying then trying again for the others. You don’t have to claim every prize in one go. If you open that chest and then are killed by a sneaky eel on the way out, don’t worry. The chest you just opened will stay found. No need to reclaim it.
Just keep trying and you’ll get the hang of it. This is why it’s best to save these missions for the end so you can do one dive sight after another and get accustomed to it. In no time you’ll be conquering this new frontier. Happy swimming assassins!


